
Ostomy Ez Air Vent 10-Pack | Ballooning Relief for Colostomy & Ileostomy Bags
Ostomy Ez Air Vent 10-Pack | Ballooning Relief for Colostomy & Ileostomy Bags
Couldn't load pickup availability
Say Goodbye to Ballooning - Fast, Air Release for Any Stoma Bag
Tired of dealing with pouch ballooning, discomfort, or messy burping? This air-release venting device is the ultimate solution for ostomy bag users who want quick, clean, and secure gas release —anytime, anywhere.
Compatible with:
• All 1-piece or 2-piece systems
• Colostomy and ileostomy bags
• Drainable or closed-end pouches
• Works with any manufacturer's pouch
Key Features:
• Instant Gas Release: Vent trapped air on demand without opening the bottom or risking leaks.
• No Filter = No Failures: Works in water, never clogs, and stays effective for the pouch's full life.
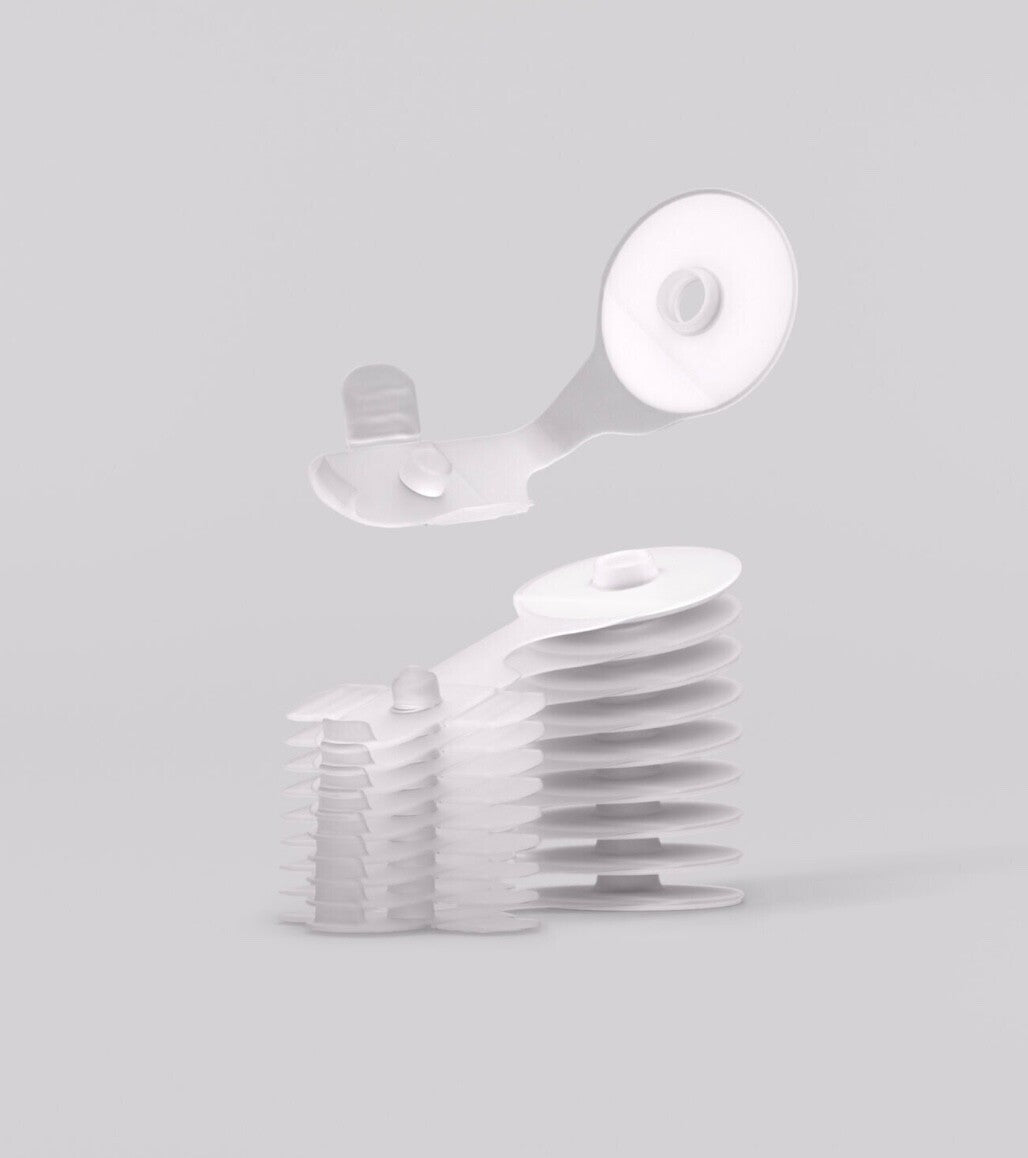
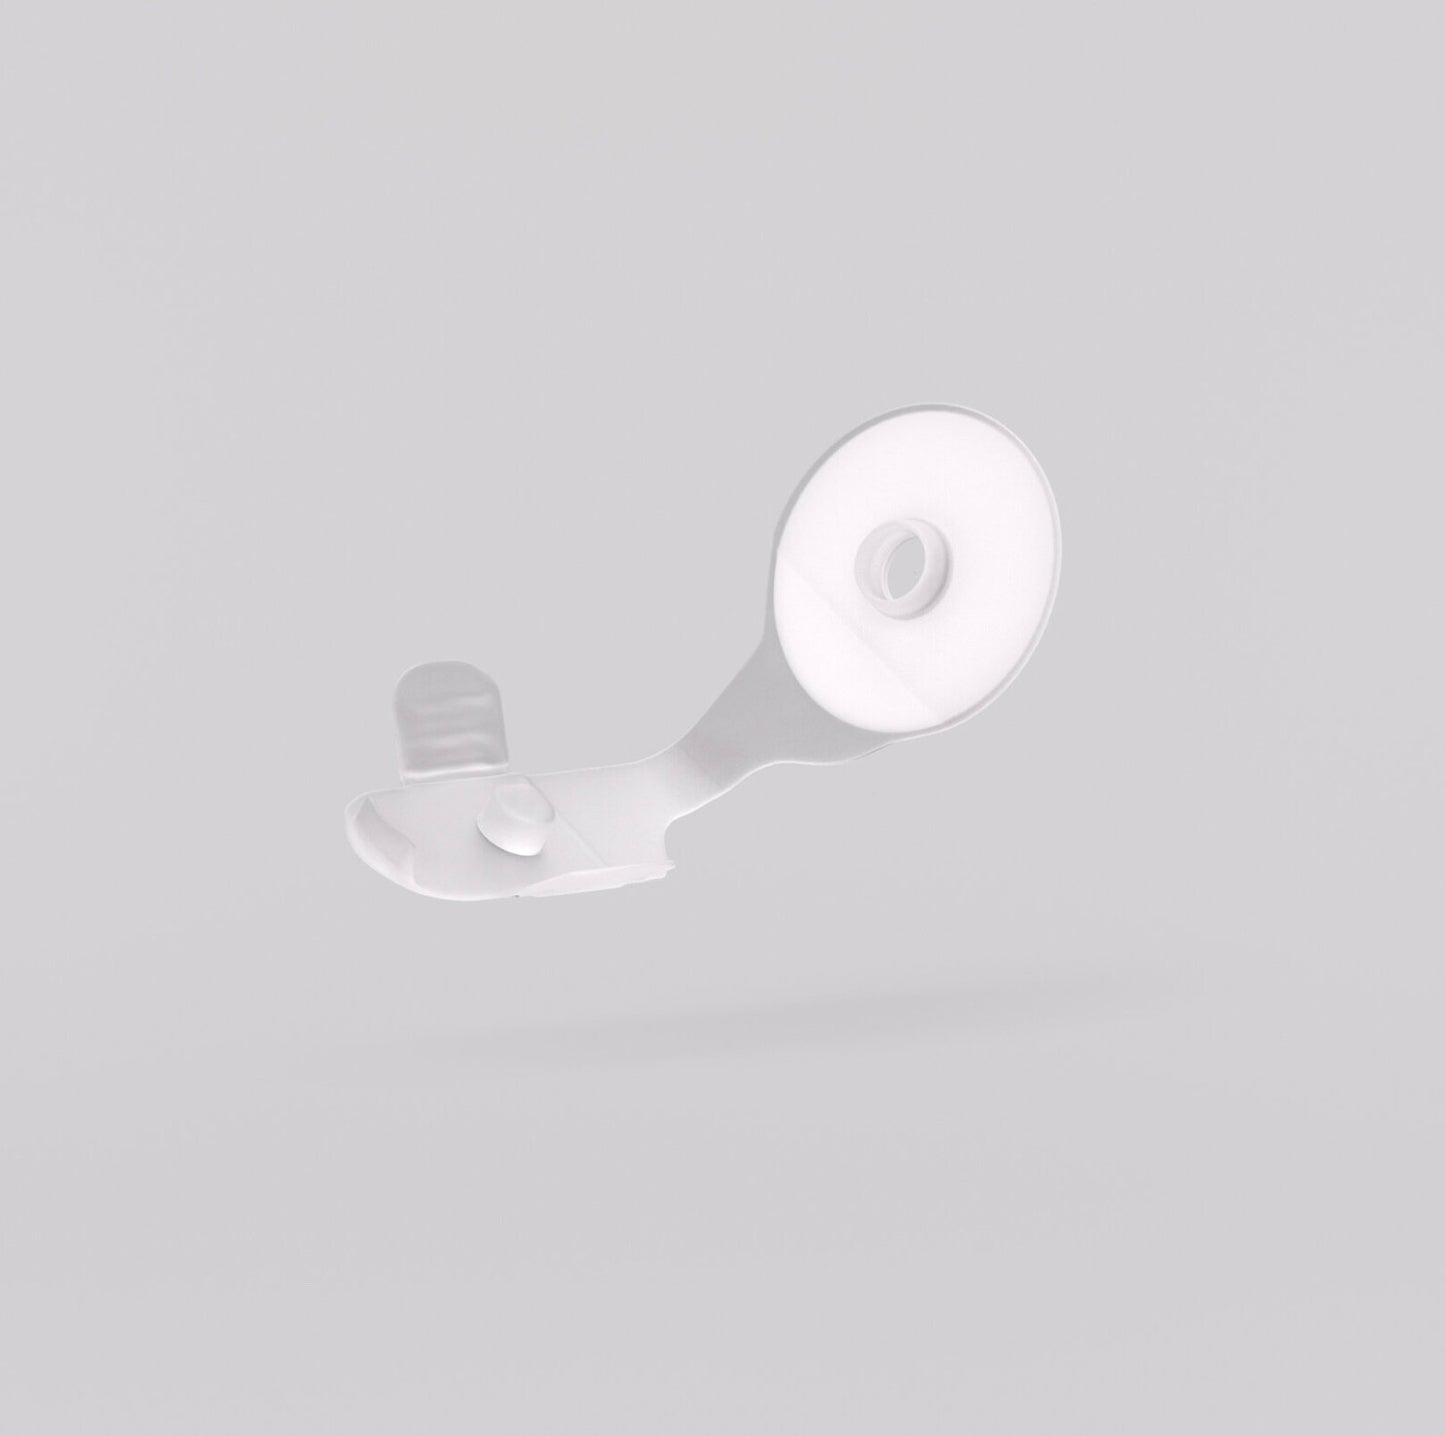
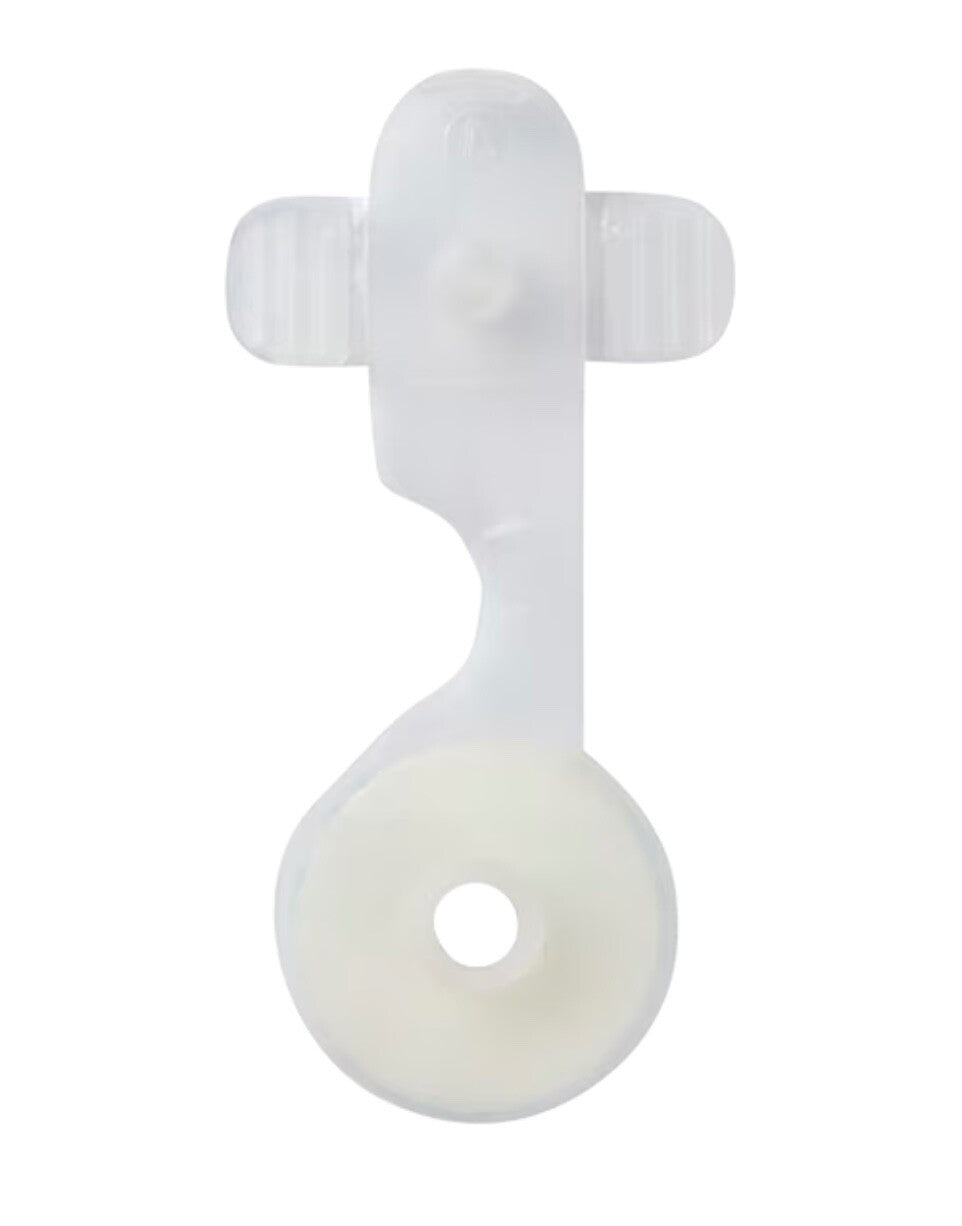
• Discreet Glide Mechanism: Simply pinch to open and release air; lies flat to avoid catching on clothing.
• Strong Adhesive Backing: Easy to install and bonds securely.
• Trusted Performance: A cleaner, more comfortable alternative to burping your bag.
Why You'll Love It:
• Reduces pressure and wafer loosening
• Helps prevent pouch explosions
• Perfect for active lifestyles, swimming, or bathing
• Reusable until pouch is changed]
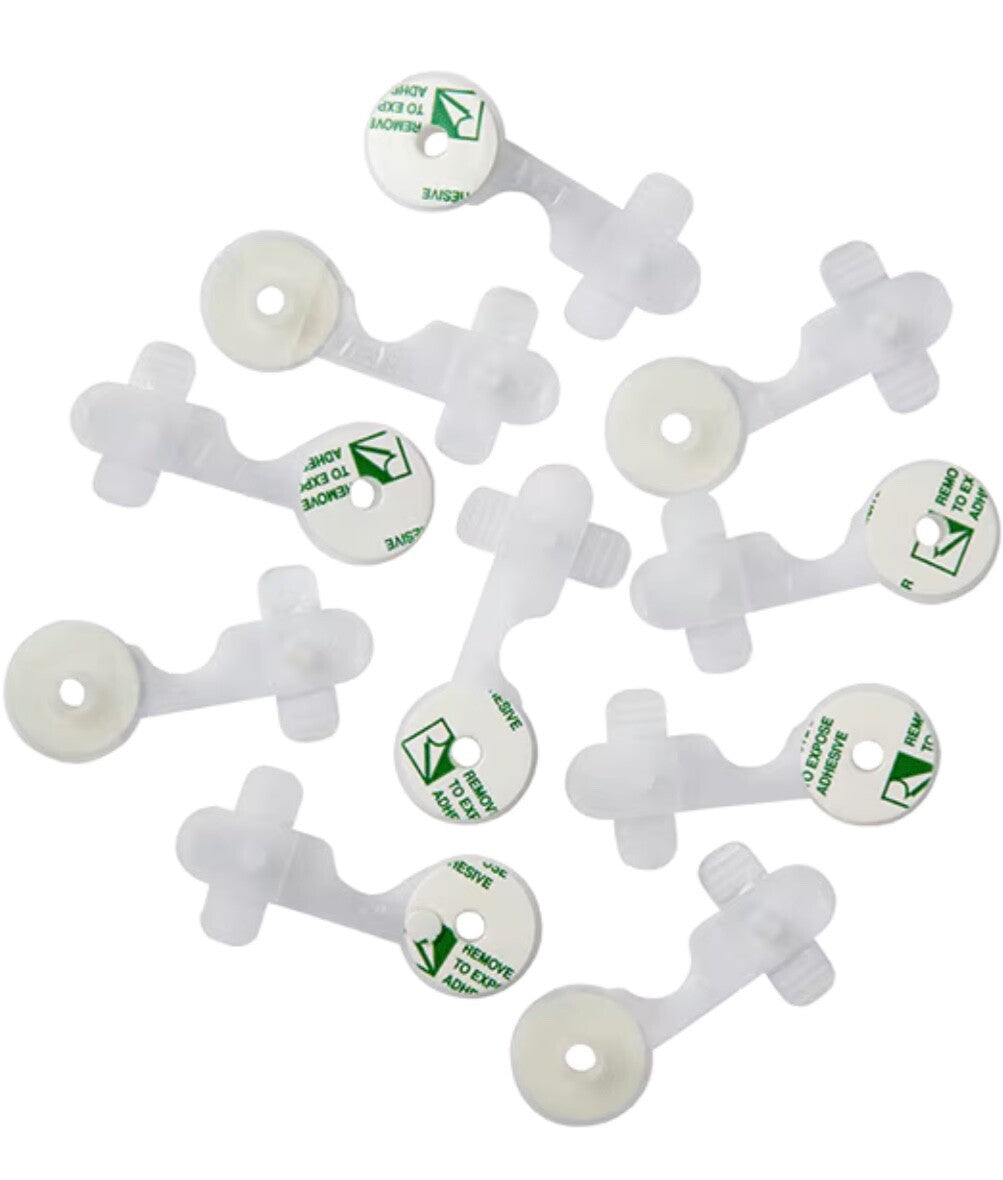
What's Included:
• 10 × Ostomy Air Vent Devices
• Easy-to-follow installation instructions
Shipping & Handling:
• Ships within 1 business day
• Combine shipping on multiple purchases
• Discreet packaging
How To Use
You'll first prepare the pouch surface, bond the vent in the optimal location, cut a precise opening, then learn how to operate the pinch-activated Glides for on-demand air release. These steps work with any 1- or 2-piece, drainable or closed-end colostomy or ileostomy pouch and help prevent ballooning without filters or mess.
1. Preparation
1. Choose Placement
• Attach the vent on the non-stoma side , near the top of the pouch body—away from the stoma opening—to avoid output spraying when you open it .
2. Expose Plastic (if covered)
• If your pouch has a fabric cover, cut or lift it only enough to expose the underlying plastic layer; do not attach over fabric or mesh .
3. Clean Surface
• Moisten a cotton pad with ≥91% isopropyl alcohol . Rub firmly until the glossy finish is removed and the surface looks matte. Allow to fully air-dry (about 30 - 60 seconds) .
2. Attaching the Vent
1. Peel and Place
• Gently peel off the white backing; avoid touching the adhesive.
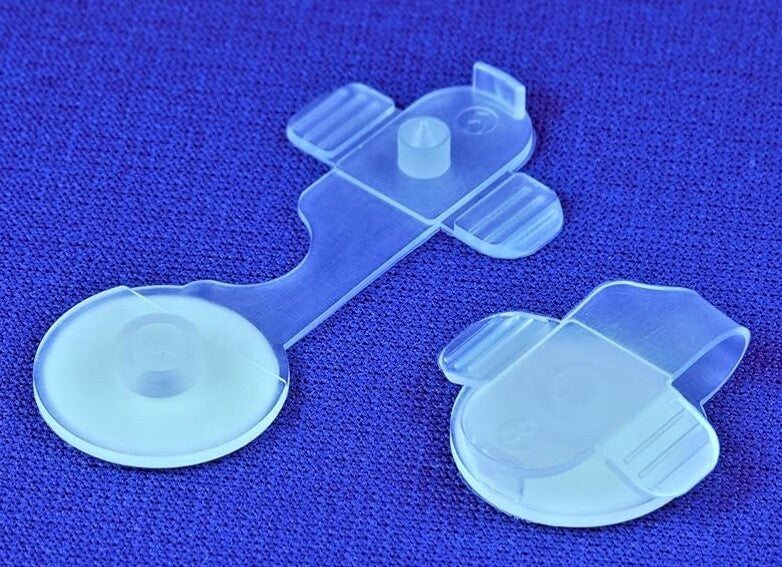
• Position the vent horizontally on the cleaned area. Press around the entire circular base with firm, even pressure .
2. Bonding Time
• Let the adhesive set at room temperature (around 72°F/24°C) for 24 - 72 hours before use.
• After 72 hours, give the vent a "tug test" : if the plastic stretches rather than the adhesive peeling, the bond is secure .
3. Creating the Vent Opening
1. Align for Cut
• Fold or pull down the pouch so the vent lies opposite the stoma flange or opening.
2. Cut the Hole
• With the vent in the closed position, insert the narrow tip of scissors or clean nail clippers through the vent's circular center.
• Twist gently back and forth to cut away excess plastic until the hole matches the vent's diameter exactly .
3. Flatten and Close
• Smooth the pouch back to its normal shape and snap the vent closed . Your pouch is now ready for wear .
4. Operating the Vent
1. Open to Release Air
• Pinch DOWN on the two small Glides (tabs) on either side of the vent's top.
• The Glides will press against the base and lift the plug , creating an open pathway for gas to escape .
2. Close to Seal
• Release pressure on the Glides; they will fold flat and seal the vent securely against moisture and odor.
3. When to Vent
• Whenever you feel pouch "ballooning" or pressure build-up, simply open, release, then close. No burping or bottom-opening needed .
5. Tips & Troubleshooting
• Waterproof Performance: Because there's no filter, the vent won't clog when swimming or bathing .
• Re-use Notes: While designed for single-pouch use, some users report safely reusing vents with fresh adhesive or on new bags—though performance may vary .
• Avoid Output Spray: If output is near the vent hole, use a clean tissue to clear residue before opening .
• Compatibility Check: For bags with pre-filters (e.g., some Coloplast Sensura Mio models), install from the back side or bigger hole through the stoma wafer if needed .
Following these steps will give you a clean, reliable, and instantaneous way to manage pouch gas—no more ballooning, wafer loosening, or messy burping routines.
Share